Installing Intel I211, I217V, I218V and I219V drivers on Windows Server 2016 with EUFI boot
Introduction
This blog will be all about installing Intel I211, I217V, I218V and I219V drivers on Windows Server 2016 with EUFI boot. I’m running Windows Server 2016 as my main OS for lab, testing, Hyper-V with nested virtualization etc. I like it that way because I have all the options of the server OS at my disposal. Especially with the nested virtualization an NVME disk comes in handy. I also boot from NVMe so I need UEFI and use secure boot. That’s OK as it’s way better than the old BIOS and enables more scenario.
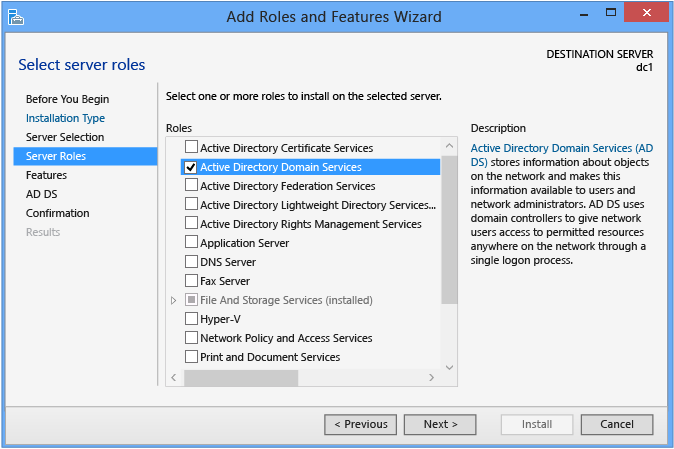
Windows Server 2016 doesn’t have any drivers for the I211, I217V, I218V and the I219V NICs.
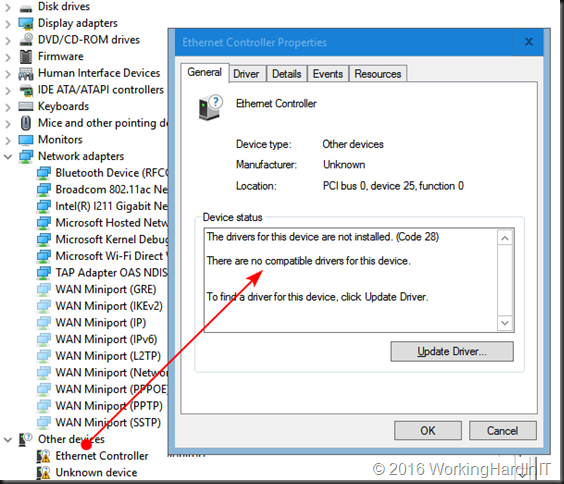
The Intel driver for them are only for Windows 10 and won’t install on a server OS. As you can see in the screenshot above that’s a system where I have the I211 driver already installed actually. We’ll work on the I218V as an example here.
That’s nothing new and we’ve dealt with this before by editing the .inf file for the driver. What might be new to some people as EUFI & NVME become a bit more popular is how to get a driver with an edited .inf file installed on your Windows Server OS.
Don’t worry even with an OS booting from EUFI with secure boot you can still disable driver signing / integrity checking when needed. We’ll walk you through an approach for installing Intel I211, I217V, I218V and I219V drivers on Windows Server 2016 with EUFI boot.
Installing Intel I211, I217V, I218V and I219V drivers on Windows Server 2016 with EUFI boot
Google for the Intel drivers of your NIC. Mine is a I218V. The instructions will work for a I217V or and i219V as well. Just adapt accordingly.

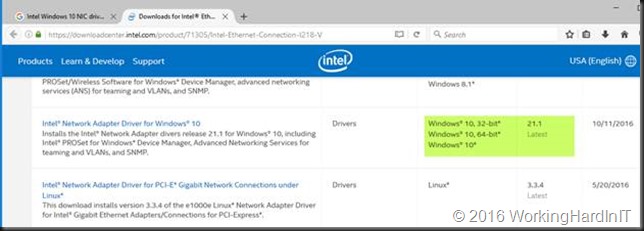
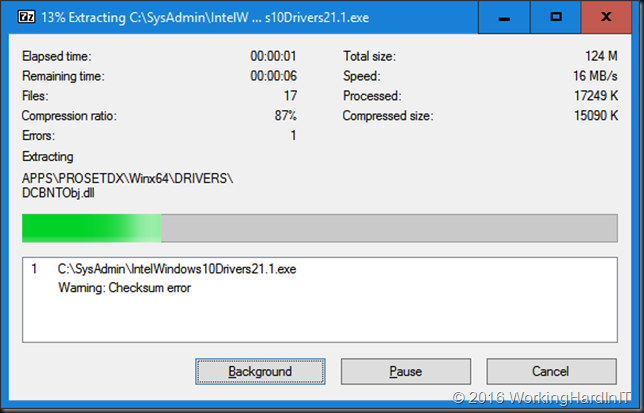
After downloading the most recent Windows 10 (x64 bit, we’ll use them with a server OS so there is no 32 bit here) Intel drivers form the Intel site we rename the exe to identify what package it is. We then extract the content to our work space. A free tool like 7zip will do the job just fine
Prepping the .INF file
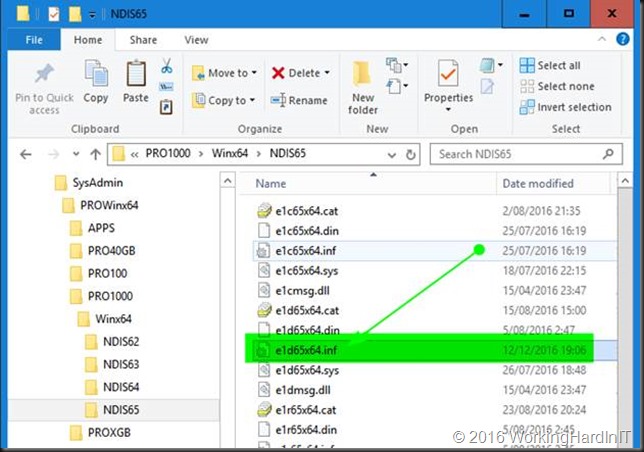
For the I211 we need to edit the .inf file and for the I217V, 218V and 219V we’ll edit the e1d65x64.inf file in note pad or your editor of choice. You’ll find it in the NDIS65 folder: C:\SysAdmin\PROWinx64\PRO1000\Winx64\NDIS65. The 65 in the folder and file names identifies our OS version (Windows 10 / Windows Server 2016).
But how do we know what .inf file to edit? We grab the hardware ID’s from the properties of our NIC or NICS.
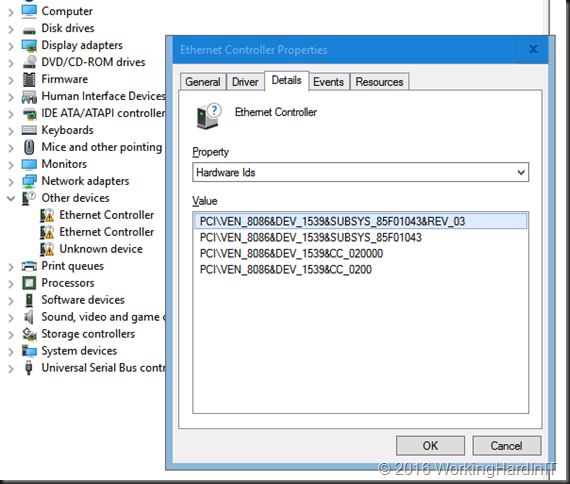
Below you see the Hardware IDs for mu I218V. The I211 has PCI\VEN_8086&DEV_1539&SUBSYS_85F01043&REV_03 and my Iv218V has PCI\VEN_8086&DEV_15A1&SUBSYS_85C41043&REV_05.
Drop the PCI\ from the beginning of the string and everything from the “&” on at the end. So for the I211 we’ll use VEN_8086&DEV_1539 and for the I218V we’ll use VEN_8086&DEV_15A1. We throw these ID strings into some PowerShell we run in our C:\SysAdmin\PROWinx64\PRO1000\Winx64\NDIS65 folder.
Get-ChildItem -Path “C:\SysAdmin\IntelWindows10Drivers21.1\PRO1000\Winx64\NDIS65” ` -recurse | Select-String -pattern “ven_8086&dev_1539” | group path | select name
Get-ChildItem -Path “C:\SysAdmin\IntelWindows10Drivers21.1\PRO1000\Winx64\NDIS65” ` -recurse | Select-String -pattern “ven_8086&dev_15A1” | group path | select name
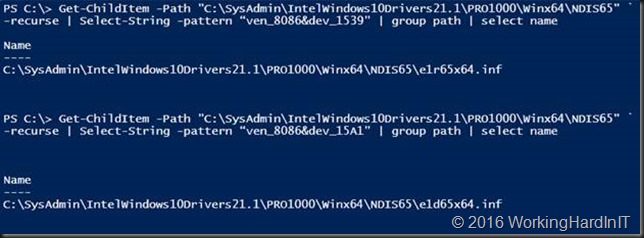
So for my I218V I open op the e1d65x64.inf file in notepad++
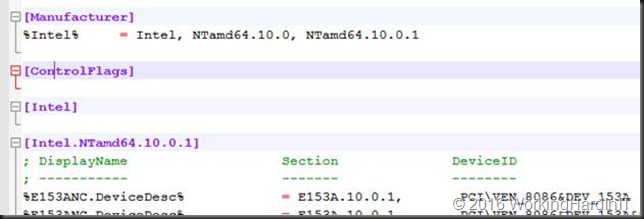
I search for [ControlFlags] section and I edit the content of that section by deleting everything in it.
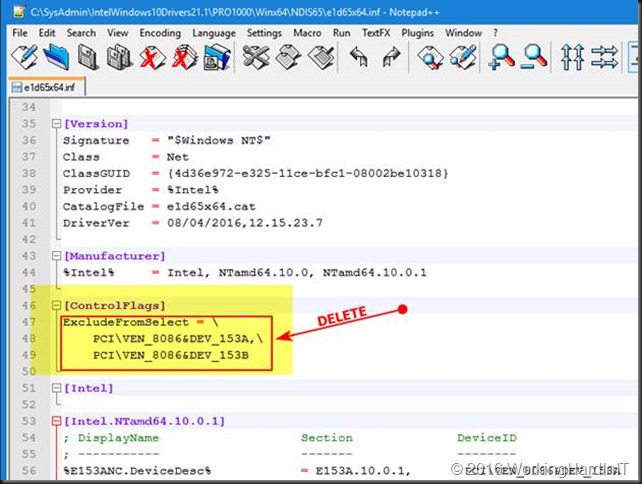
So it looks likes
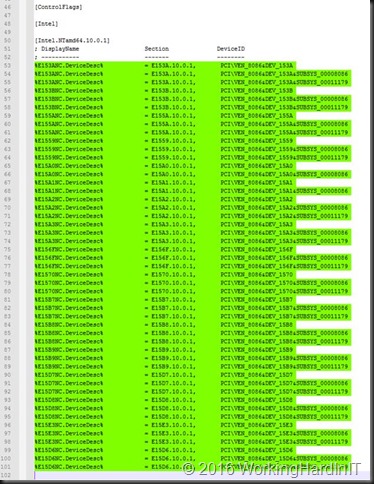
Then I search for section [Intel.NTamd64.10.0.1] and I copy everything in there (I don’t bother to only copy the entries for my particular NIC or so.
Copy everything under that heading
I then search for section [Intel.NTamd64.10.0] and I paste what I just copied from section [Intel.NTamd64.10.0.1] nicely underneath what’s already in there.
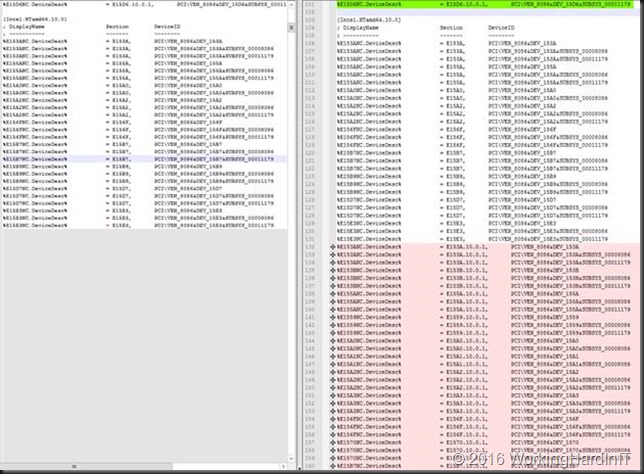
Save the file. Basically, you’re done here.
Installing the driver
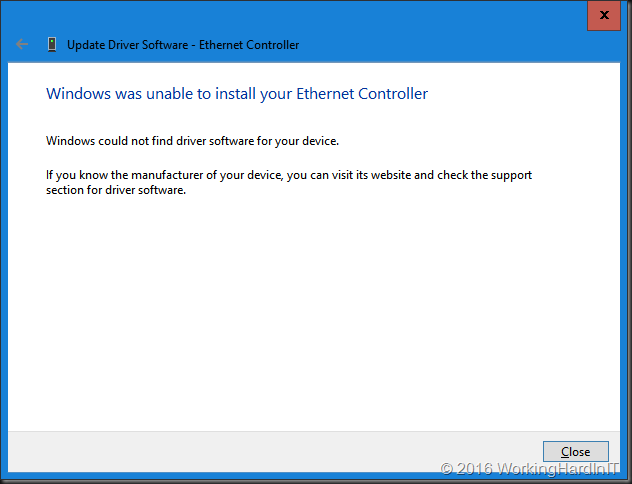
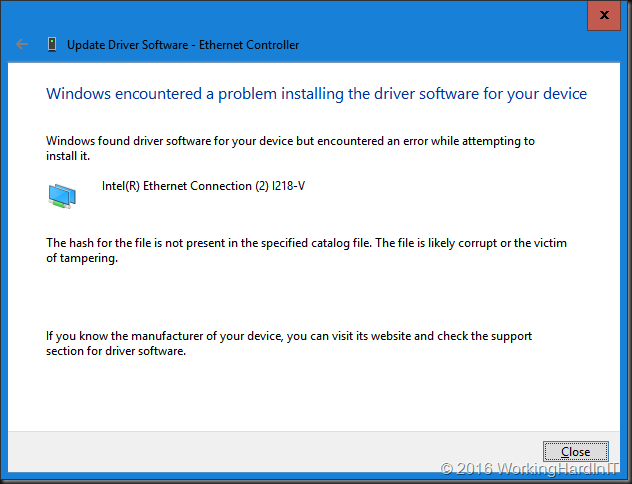
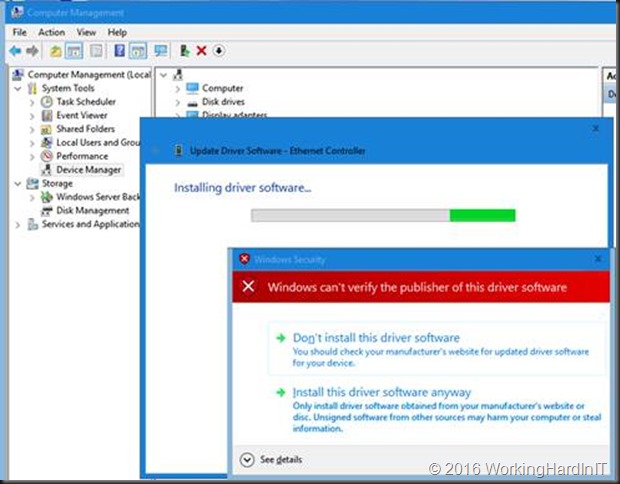
We now need to alter the standard startup setting of Windows Server 2016 temporarily because we will not be able to install a driver that’s been tampered with. If you don’t lower the security settings, you’ll get an error just like this one:
What I did is run the following in an elevated command prompt:
bcdedit /set LOADOPTIONS DISABLE_INTEGRITY_CHECKS
Note: as I’m using UEFI & secure boot the following won’t work as if you were using an older BIOS without secure boot.
bcdedit /set TESTSIGNING ON

bcdedit /set nointegritychecks OFF

But that’s OK. What we need to do is turn it of in another way. That last command bcdedit /set nointegritychecks OFF iIs not needed anyway. So, forget about that one. As a replacement for bcdedit /set TESTSIGNING ON you can use and advanced start option (requires reboot). You can also disable secure boot in EUFI, start again and then run bcdedit /set TESTSIGNING ON. I prefer the first as fixes itself the next boot and I don’t have to turn secure boot on again afterwards.
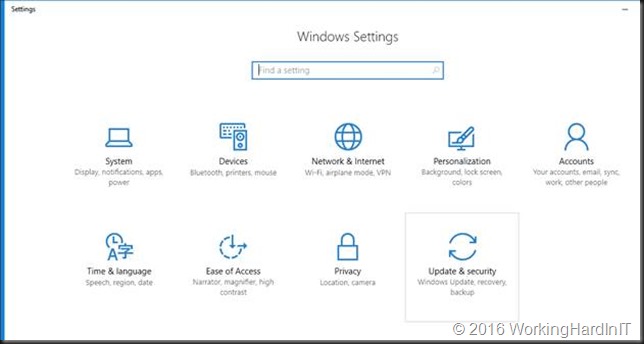
Go to setting and select Update & security.
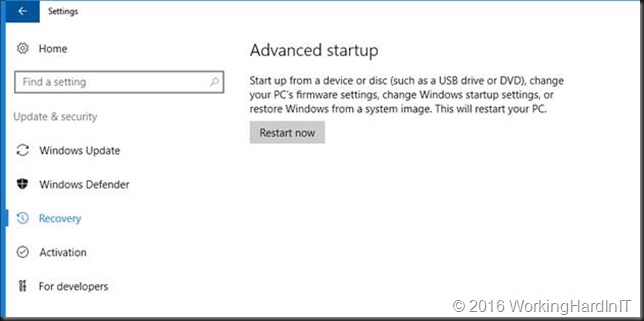
Navigate to Recovery and click Restart Now
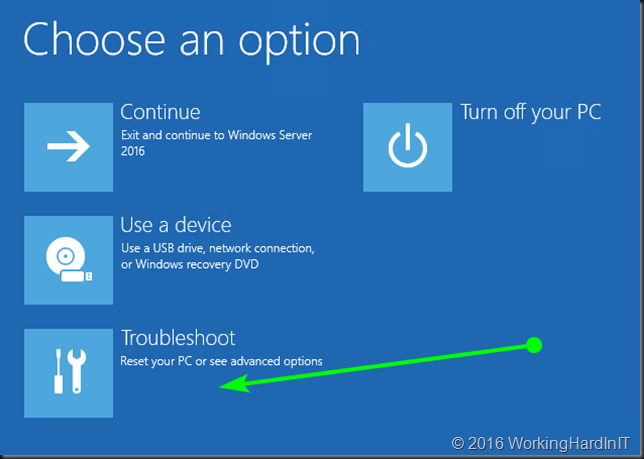
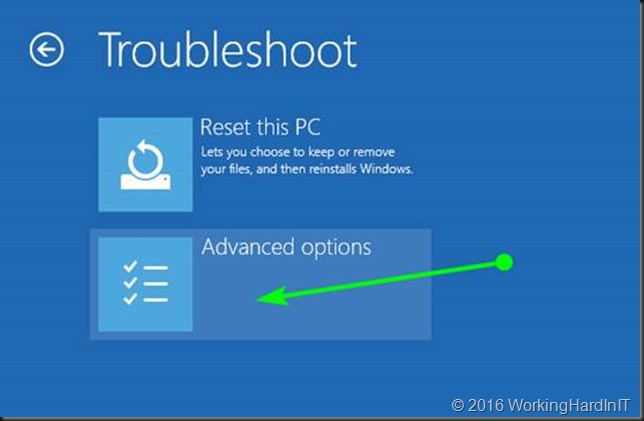
It will reboot to the following screen.Click Troubleshoot.
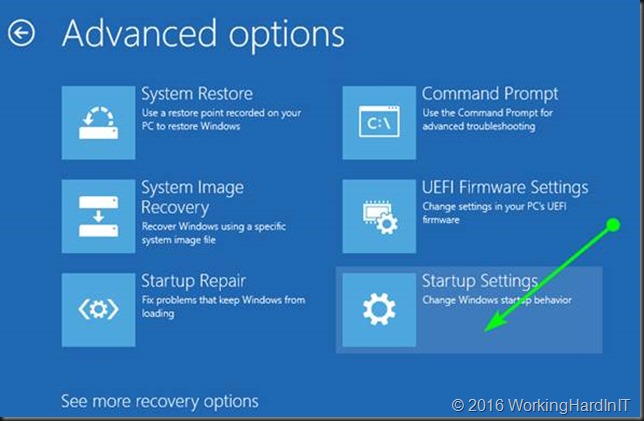
Select and click Advanced options.
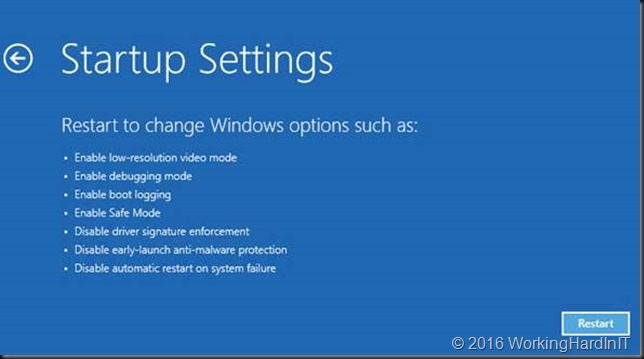
Click Startup Settings.
We click restart on the next screen
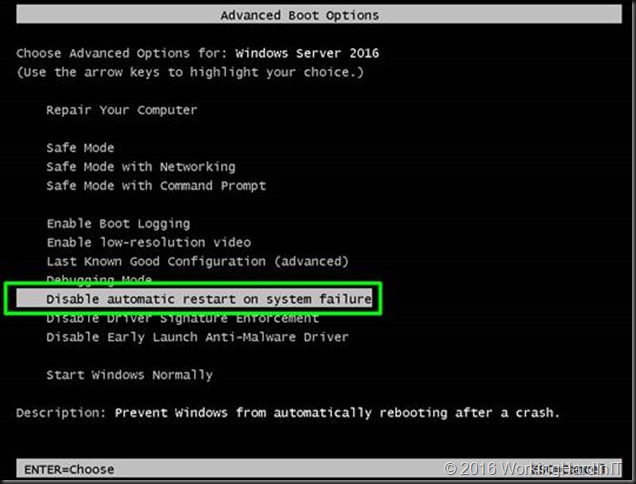
It will restart Advanced boot options. Select to disable driver signature enforcement. Hit ENTER.
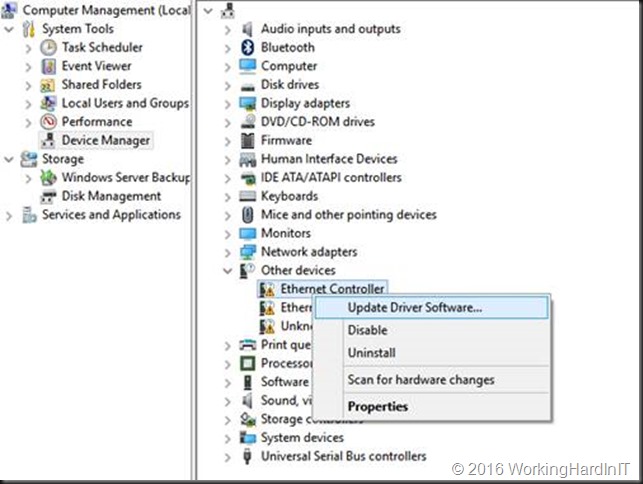
When your server has restarted, you’ll be able to install the driver you tampered with. To do so, in device manager select your NIC and click Update Driver Software.
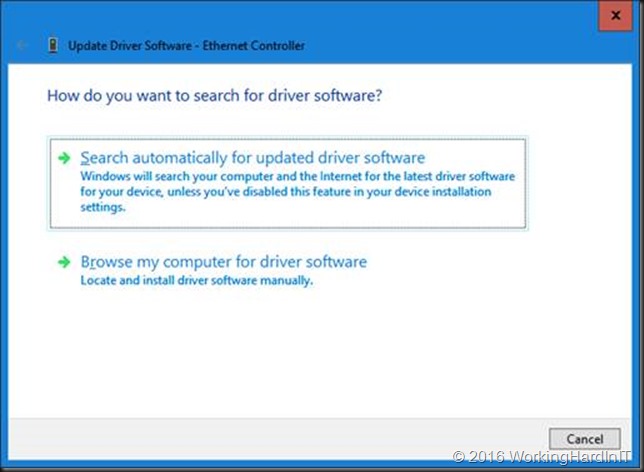
Select to Browse my computer for driver software
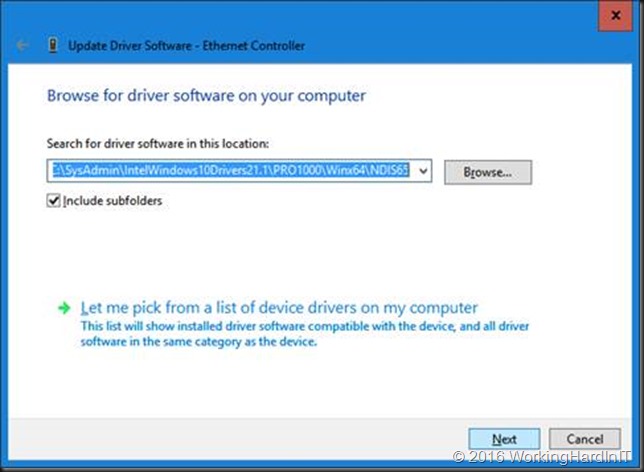
Point to the C:\SysAdmin\PROWinx64\PRO1000\Winx64\NDIS65 folder with your edited .inf files.
You’ll get a warning that the publisher of this driver can’t be verified. But as you’re the one doing the tampering here, you’ll be fine.
The result is successful install of the driver with a functional NIC for your system.
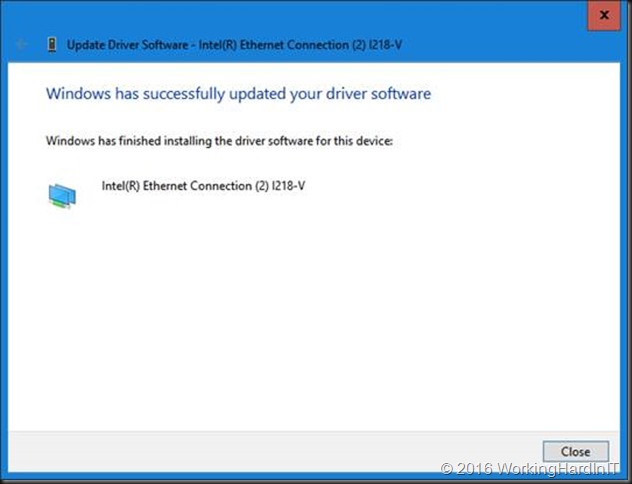
Cool, you’re in business!
No please reverse the setting you made to the integrity checks to make your system more secure again. From an elevated command prompt run:
bcdedit /set LOADOPTIONS ENABLE_INTEGRITY_CHECKS
Now reboot and you’re all secure again. That’s it, you’re done. I had both an I211 and an I218V NIC on my motherboard so I had to do this for both. Happy testing!